


Hey there, fellow garden enthusiasts! As a supplier of top - notch Led Garden Landscape Lamps, I'm super excited to walk you through the installation process of solar - powered Led Garden Landscape Lamps. These lamps are not only energy - efficient but also add a magical touch to your outdoor space. So, let's get started!
Pre - installation Checks
Before diving into the actual installation, there are a few things you need to do. First off, check the package. Make sure you have all the parts included. You should get the lamp body, the solar panel, stakes (if they're stake - mountable lamps), screws, and maybe some wiring. If anything's missing, it's best to reach out to us right away.
Next, find the perfect spot for your lamps. Since they're solar - powered, they need plenty of sunlight during the day to charge up. Look for areas in your garden that get at least 6 hours of direct sunlight. Avoid spots that are shaded by trees or buildings. You also want to think about the overall look you're going for. Do you want to line a walkway, light up a flower bed, or create a focal point? Plan accordingly.
Unpacking and Assembly
Once you've found the right spot, it's time to unpack your Landscape Lamp. Carefully take out all the components and lay them out. If your lamp comes in multiple parts, you'll need to assemble it.
Most of our lamps are pretty easy to put together. Usually, it involves attaching the solar panel to the lamp body. There are often pre - drilled holes and screws for this. Just align the holes and use a screwdriver to tighten the screws. Make sure it's a snug fit so that the solar panel stays in place.
If your lamp has a stake, attach it next. Some stakes simply slide into a slot at the bottom of the lamp, while others might require a bit of screwing. Again, follow the instructions that come with your specific lamp.
Mounting the Lamps
Now that your lamp is assembled, it's time to mount it. There are a few different mounting options depending on the type of lamp you have.
Stake - Mounted Lamps
These are the easiest to install. Just take the lamp with the attached stake and push it firmly into the ground. Make sure it's straight and stable. If the ground is too hard, you might want to use a small shovel or a post - hole digger to create a small hole first. Then insert the stake and fill the hole with soil.
Wall - Mounted Lamps
For wall - mounted lamps, you'll need a drill and some wall plugs. First, mark the spots on the wall where you want to mount the lamp. Use a level to make sure the marks are straight. Then drill holes into the wall and insert the wall plugs. Align the lamp with the holes and use screws to attach it to the wall.
Ground - Mounted Lamps
If you have ground - mounted lamps, you'll need to dig a small hole in the ground. The depth and width of the hole should match the base of the lamp. Place the lamp in the hole and fill it with concrete or gravel to secure it. Make sure the lamp is level before the concrete or gravel sets.
Connecting the Wiring (if applicable)
Some of our more advanced solar - powered Led Garden Landscape Lamps might have some wiring. If your lamp has multiple parts that need to be connected, like an extension cable for the solar panel, follow the wiring diagram in the instruction manual.
First, make sure the power is off. Then connect the wires according to the color - coding. Usually, red is for positive and black is for negative. Use wire connectors to secure the connections. Once the wiring is done, double - check to make sure everything is connected properly.
Testing the Lamps
After the installation is complete, it's time to test your lamps. During the day, make sure the solar panel is facing the sun. The lamp should start charging. As the sun goes down, the lamp should automatically turn on.
If your lamp doesn't turn on, there could be a few reasons. First, check the switch. Some lamps have an on/off switch that might be in the off position. Next, make sure the solar panel is getting enough sunlight. If it's been a cloudy day, the lamp might not have charged fully. You can also check the connections to make sure they're secure.
Maintenance and Tips
To keep your solar - powered Led Garden Landscape Lamps working well, you need to do a bit of maintenance. Clean the solar panel regularly with a soft cloth and some water. Dust and dirt can block the sunlight and reduce the charging efficiency.
Also, check the lamp body for any signs of damage, like cracks or loose parts. If you notice any issues, let us know. We can provide replacement parts if needed.
In winter, if you live in an area with heavy snow or freezing temperatures, you might want to store your lamps indoors. This will protect them from the harsh weather.
Why Choose Our Lamps
Our Led Outdoor Yard Lights are made with high - quality materials. They're durable and can withstand different weather conditions. Our Outdoor Lights Led Ip66 are waterproof, which means they can handle rain, snow, and even splashes.
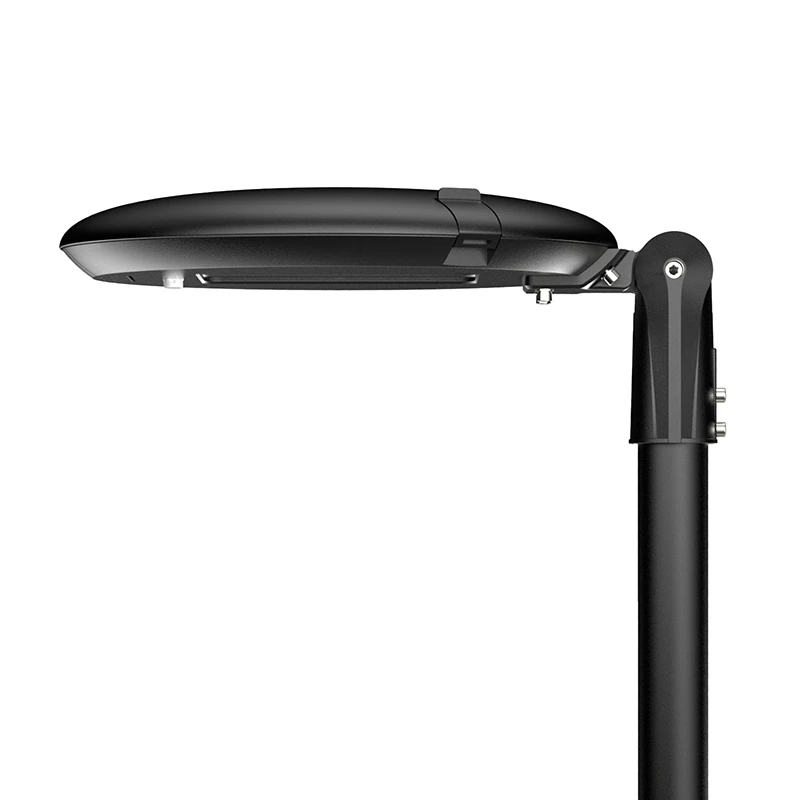

The LED lights we use are energy - efficient and have a long lifespan. You won't have to worry about changing bulbs frequently. Plus, our lamps come in a variety of styles and designs, so you can find the perfect ones to match your garden's aesthetic.
Contact Us for Purchasing
If you're interested in our solar - powered Led Garden Landscape Lamps, we'd love to hear from you. Whether you're a homeowner looking to spruce up your garden or a business owner in need of outdoor lighting solutions, we've got you covered. Reach out to us to start a purchase negotiation. We can offer you great deals and help you choose the right lamps for your needs.
References
- General knowledge about solar - powered LED lighting technology
- Manufacturer's installation guides for Led Garden Landscape Lamps